


The risk of COVID-19 is still looming. The pandemic is not yet over. Despite the Philippines performing relatively better this time, many of our neighboring countries are experiencing surges of...
The risk of COVID-19 is still looming. The pandemic is not yet over. Despite the Philippines performing relatively better this time, many of our neighboring countries are experiencing surges of...
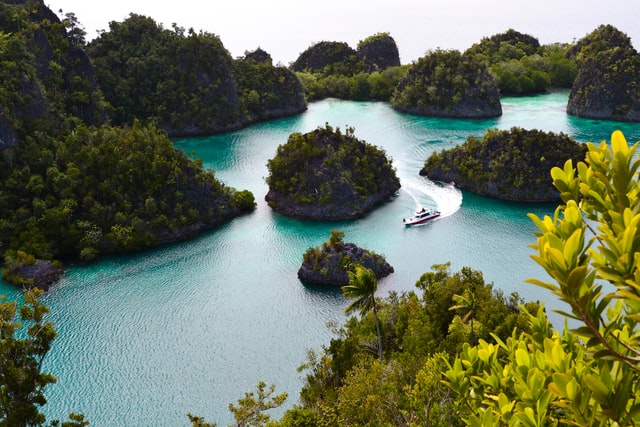
Here’s a fun fact about Indonesia – it’s home to over 18,000 islands, over half of which are populated. And that’s not just a fun fact, that’s one of the reasons why organizing a cruise where you...
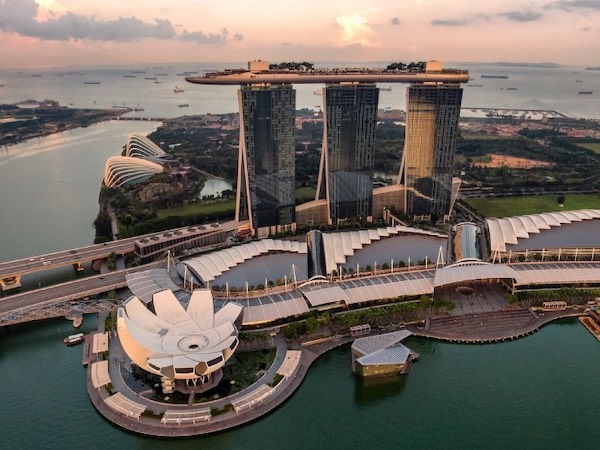
Marina Bay Sands, Singapore Similarities Between Singapore & Macau As two of the most unique destinations in Asia, it’s no surprise that millions of tourists flock to each city every year. In...
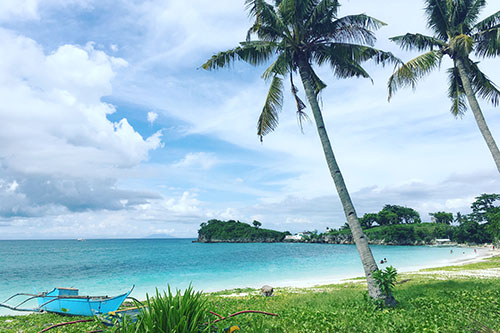
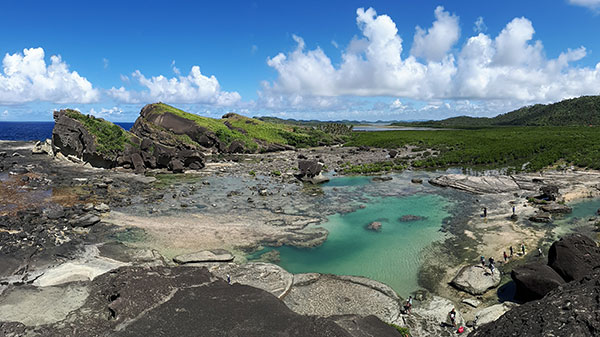
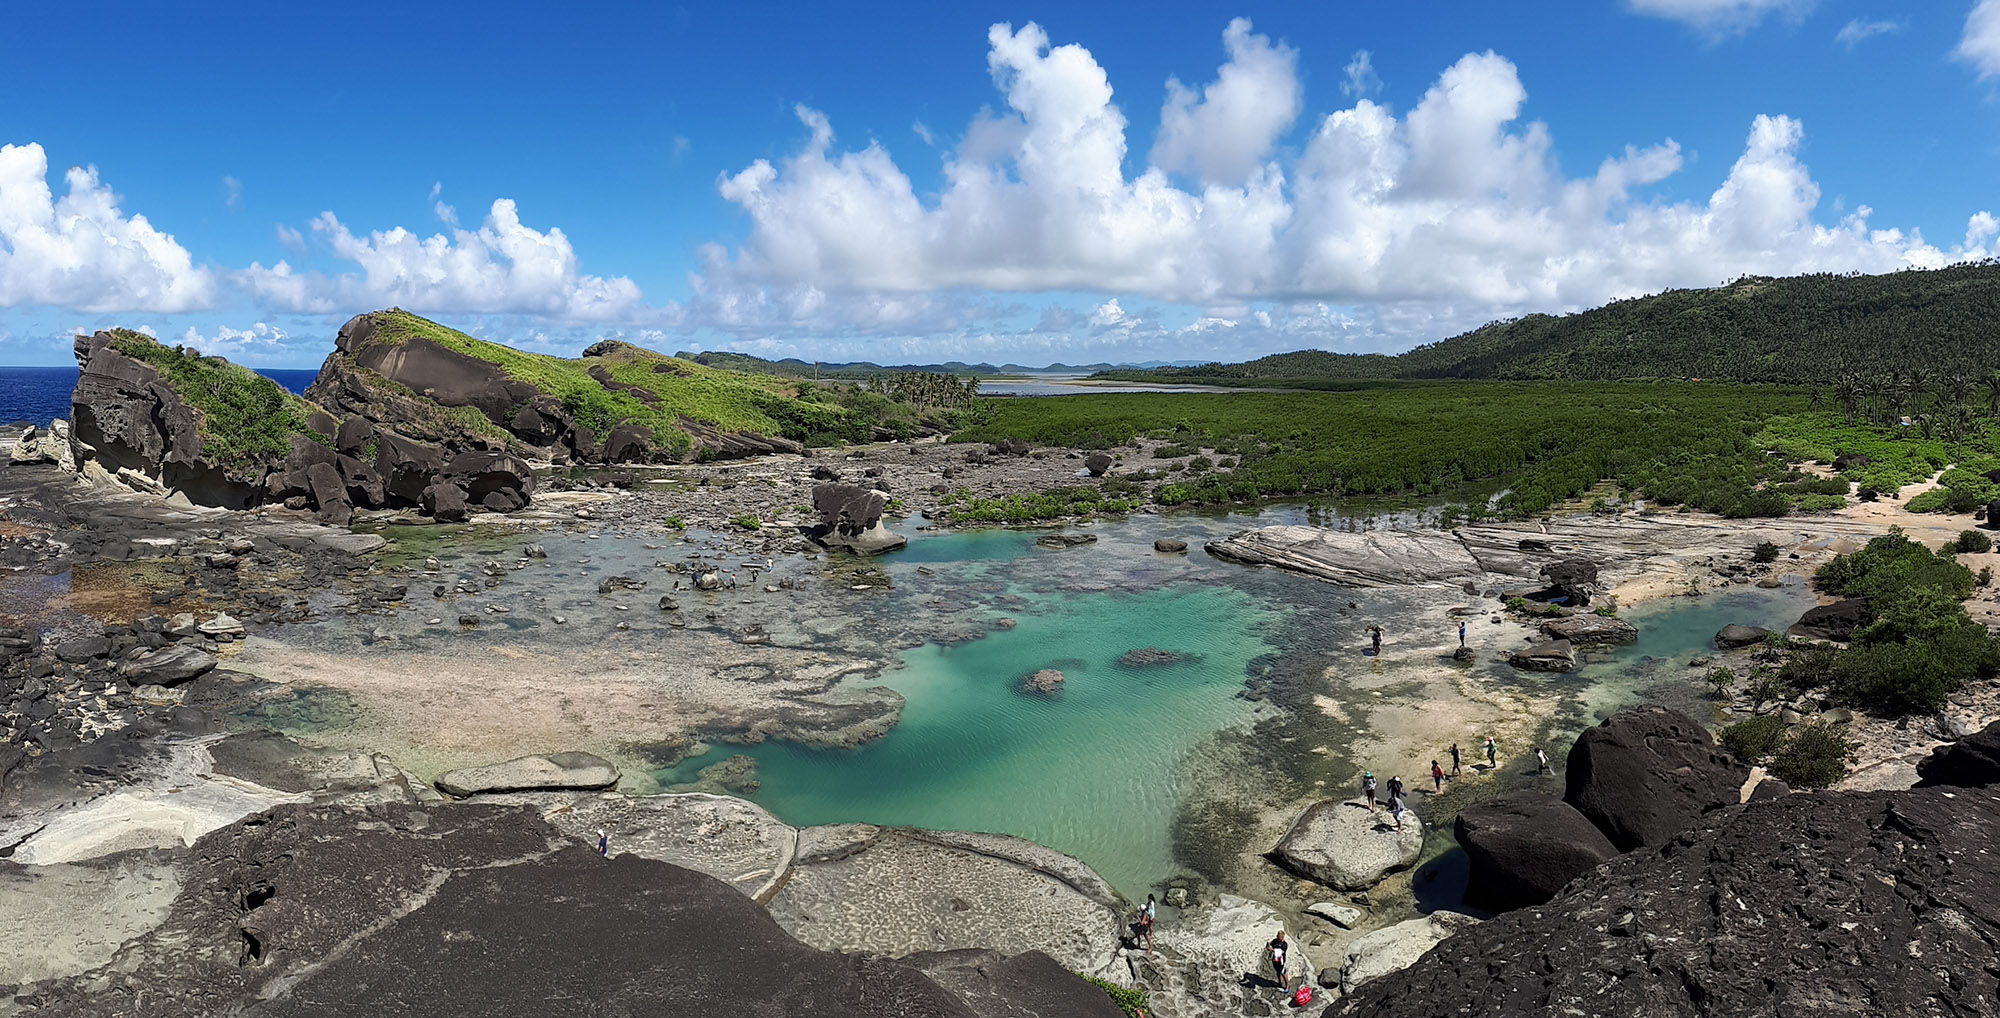
Malapascua is one of the smallest inhabited islands in the Philippines. It measures 2.5 on its longest side and 1 kilometer on its shorter span. Being a cleaning station for thresher sharks and manta...

At first glance, I thought it was a just another crawler or insect slayer. When I stare at the ceiling, my eyelashes are still entangled with the sticky eye discharge. Out of discomfort, I closed my...

Are you planning on going to the beach soon? While a sunny getaway is always a good idea, you can make your trip even better by ensuring that you have all the proper items packed in your suitcase. To...