Let’s say you are a blogger or an online store owner, and you bought a domain for your business. But your business email address is still @gmail.com or @yahoo.com. Though these emails provide quality service, these addresses still raise a doubt on your customers. On their heads, they will question the legitimacy of your business emails, which in turn reduces the numbers of your potential leads.
However, if you customize your email domain that matches your brand, then the question of legitimacy will be out of the scenario.
Email address with custom domain is a must
Gmail, Yahoo!, and Outlook Live offer custom email address, which means that, you can use your business domain on your primary email address. For example, if your business domain is MYBUSINESS.COM, then your email address is CONTACT@MYBUSINESS.COM. However, custom email domains from these providers are a paid service.
In most cases, you can get your custom email for free from your cPanel hosting plan. But for those who hosted their blogs or websites from other platforms, such as Blogger, WordPress.com, Weebly, Wix, Tumblr, or Medium, you need to look elsewhere to get a free custom email domain.
Get your business email from Zoho
Time needed: 1 hour
As of the moment, Zoho Mail offers the service for free. The free business email plan allows you to create up to 5 users with 5GB storage capacity. You can also attach files with size up to 25MB. You can also use most of Zoho’s business email features, such as collaboration tools, email migration, and many others.
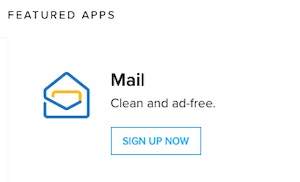
- From a web browser, go to www.zoho.com, and then, from the Mail section, click SIGN UP NOW.
You may find the Mail section within the Featured Apps section from the home page.
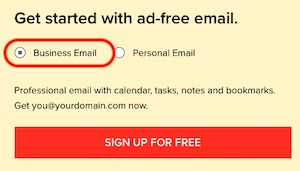
- Select Business Email, and then click SIGN UP FOR FREE.
You may find the option from the “Get started with add-free email” section.
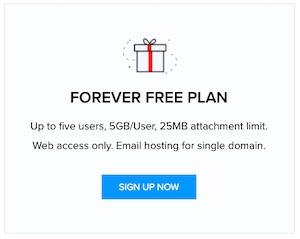
- Scroll down, and then from the FOREVER FREE PLAN section, click SIGN UP NOW.
Emails from free plans are accessible from web only. You can host an email for a single domain.
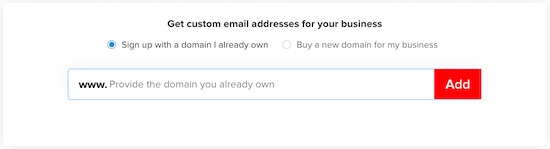
- Enter your domain, and then click ADD.
Use your top-level domain, without www or other subdomain prefix.
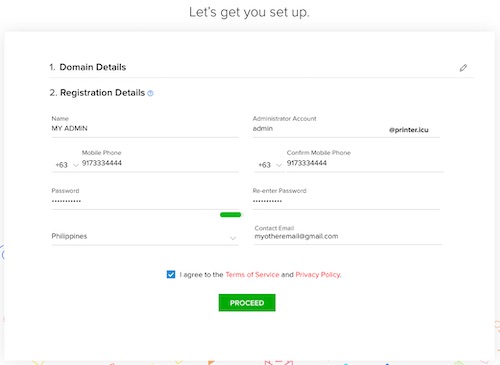
- Provide your registration details, and then click PROCEED.
Provide your account name, admin email, cellphone number, password, country of residence, and your other email address. Make sure that you agree to the Terms of Service and Privacy Policy.
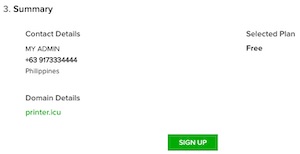
- From the Summary section, review the details, and then click SIGN UP.
Make sure that the information is correct.
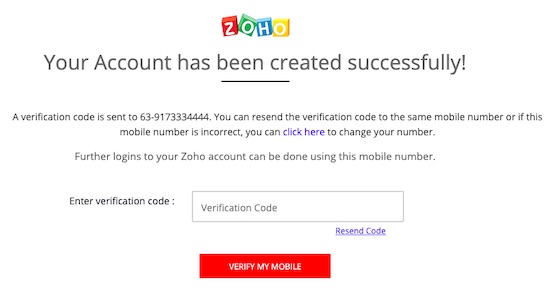
- Enter the verification code, and then click VERIFY MY MOBILE.
The verification code is sent to the mobile number that you use to register on step 5.
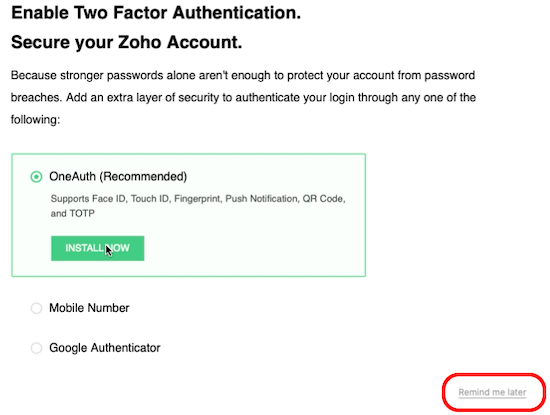
- Enable and set up the 2-factor Authentication.
You can use OneAuth, your mobile number, or a Google Authenticator app. You can also skip the set up by clicking “Remind me later.”
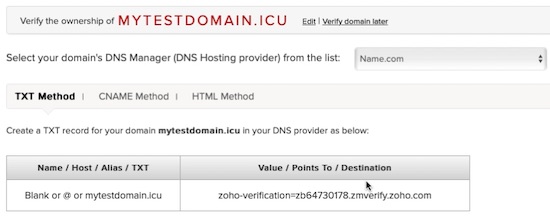
- Verify your domain.
From your DNS Manager or DNS hosting provider, create a TXT record that matches the record provided by Zoho. You can also use CNAME to verify your domain.
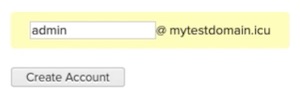
- Create an administrator user account, and then click Create Account.
You can also create additional email addresses for your colleagues or employees. Note that you can only create up to five accounts.
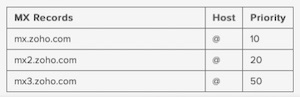
- From your DNS Manager or DNS Hosting Provider, create three MX records.
Make sure that the mail exchange (MX) records match to that of Zoho MX servers.
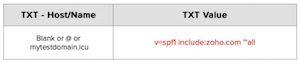
- Create a TXT record for Sender Policy Framework (SPF).
Avoid email spoofing by creating an SPF record from your DNS Manager or DNS Hosting Provider. Make sure that it matches the SPF record provided by Zoho. Since it may take up to 48 hours for the TXT record to propagate, you may verify your SPF record later.
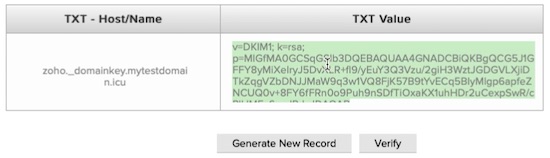
- Create a TXT record for DomainKeys Identified Mail (DKIM).
To avoid email spoofing and to make sure that your emails will not be treated as spam, create a DKIM record from your DNS Manager or DNS Hosting Provider. Make sure that it matches the DKIM record provided by Zoho. Since it may take up to 48 hours for the TXT record to propagate, you may verify your DKIM record later.
- Your basic setup is complete. Go to your Zoho Mail account.
Once your set up is complete, you can use your email already. However, since your SPF and DKIM records are not yet verified, the emails that you send may be treated as spam by the receiving email provider. Make sure that you verify your SPF and DKIM records once the TXT records have propagated. Use DNSChecker.org to check if your TXT records are updated.

If you have questions, please leave a comment below. If you plan to set up a single catch-all inbox to manage or access all your email messages from different email address, then see How to Access Multiple Email Accounts in a Single Catch-all Email Inbox.
Watch the video for the complete setup instructions.


Leave a reply